Install NVIDIA driver
Before we start, you need to install NVIDIA driver from here
https://www.nvidia.com/download/index.aspx
To check which CUDA version that your device can support
nvidia-smi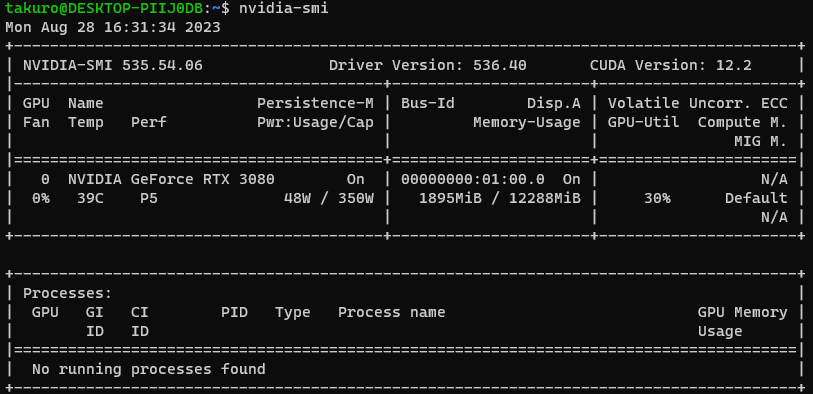
You can see my CUDA version is 12.2. This doesn’t mean you have installed CUDA 12.2. It means your device can support CUDA version up to 12.2.
Install CUDA tool kit
The following script is from Replicate cog repo. The example is using CUDA 11.7.
$ sudo apt-key del 7fa2af80 # if this line fails, you may remove it.
$ wget https://developer.download.nvidia.com/compute/cuda/repos/wsl-ubuntu/x86_64/cuda-wsl-ubuntu.pin
$ sudo mv cuda-wsl-ubuntu.pin /etc/apt/preferences.d/cuda-repository-pin-600
$ wget https://developer.download.nvidia.com/compute/cuda/11.7.0/local_installers/cuda-repo-wsl-ubuntu-11-7-local_11.7.0-1_amd64.deb
$ sudo dpkg -i cuda-repo-wsl-ubuntu-11-7-local_11.7.0-1_amd64.deb
$ sudo apt-get update
$ sudo apt-get -y install cuda-toolkit-11-7
You can change the version or manually download the installer from here.
Once the installation is completed, you can check the version via
$ nvcc --version
If you got error that ‘nvcc’ not found, then you need to check if nvcc exists in /usr/local/cuda/bin. (It should exist!) You have to manually add nvcc to your environment PATH.
Just edit your ~/.bashrc
$ vim ~/.bashrcAdd following to the end of file and save.
export PATH="/usr/local/cuda/bin:$PATH"
export LD_LIBRARY_PATH="/usr/local/cuda/lib64:$LD_LIBRARY_PATH"
PATH: specifies the search paths for commands.
LD_LIBRARY_PATH: specifies the search paths for shared libraries for the linker.
Reload it, then the command should work.
$ source ~/.bashrcInstall cuDNN
You need to register an account with NVIDIA developer program and then you can download cuDNN from the following link.
https://developer.nvidia.com/rdp/cudnn-download
For more detail instruction, you can refer the link here. Since there is no cuDNN installation instruction, so you can just check the instruction for Linux.
https://docs.nvidia.com/deeplearning/cudnn/install-guide/index.html
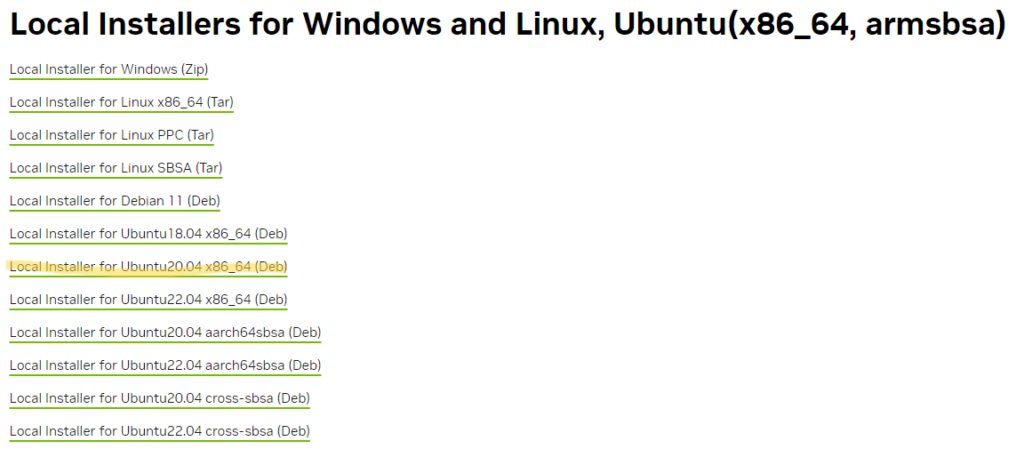
I downloaded the one for Ubuntu 20.04 which matches with the version that I installed for my WSL 2.
# install .deb
$ sudo apt install ./cudnn-local-repo-ubuntu2004-8.9.4.25_1.0-1_amd64.deb

$ sudo cp /var/cudnn-local-repo-ubuntu2004-8.9.4.25/cudnn-local-0793C70B-keyring.gpg /usr/share/keyrings/
$ sudo apt-get update

# the pattern is ${cudnn_version}-1+${cuda_version}
$ sudo apt-get install libcudnn8=8.9.4.25-1+cuda11.8
$ sudo apt-get install libcudnn8-dev=8.9.4.25-1+cuda11.8
$ sudo apt-get install libcudnn8-samples=8.9.4.25-1+cuda11.8
To check which CUDA version you have installed.
$ cat /usr/local/cuda/version.json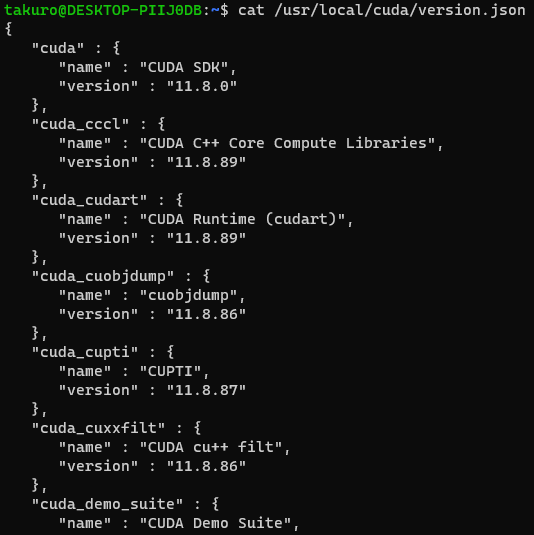
Verify the install
# copy cudnn sample to your home path
$ cp -r /usr/src/cudnn_samples_v8/ $HOME
$ cd  $HOME/cudnn_samples_v8/mnistCUDNN
$ make clean && make
until this step, you may encounter an error like below
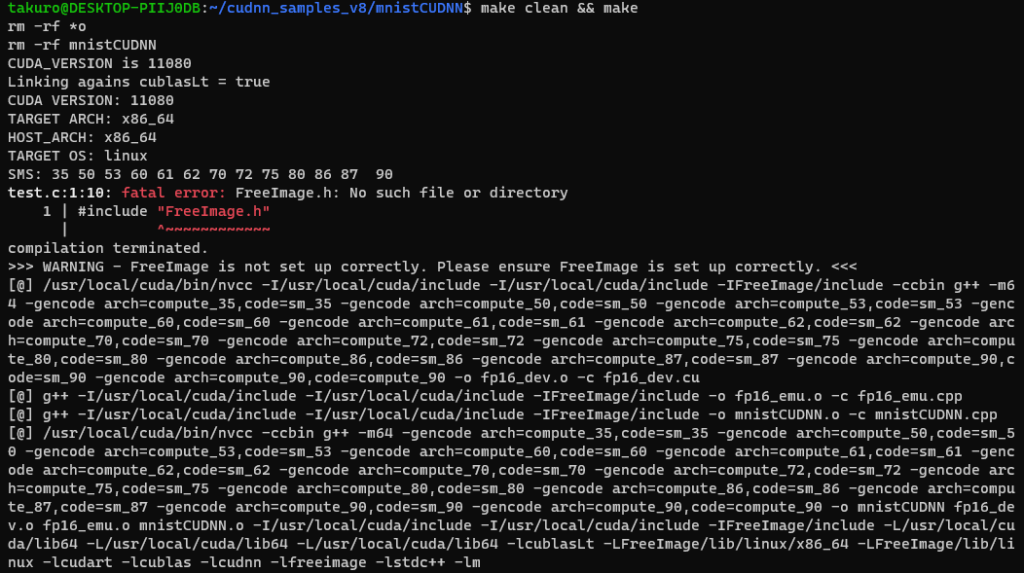
To fix this issue, you need to install libfreeimage3 and libfreeimage-dev
$ sudo apt install libfreeimage3 libfreeimage-devthen you can run make clean && make again. If the make command works, then you can run the command below to check if everything works.
# execute the mnistCUDNN
$ ./mnistCUDNN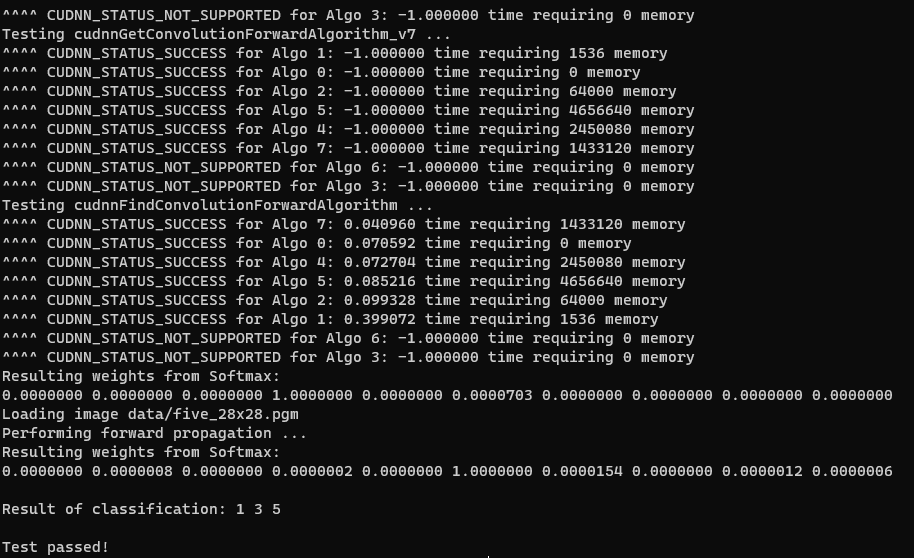
You should see Test passed!
Hope the explanation works for you!

搶先發佈留言